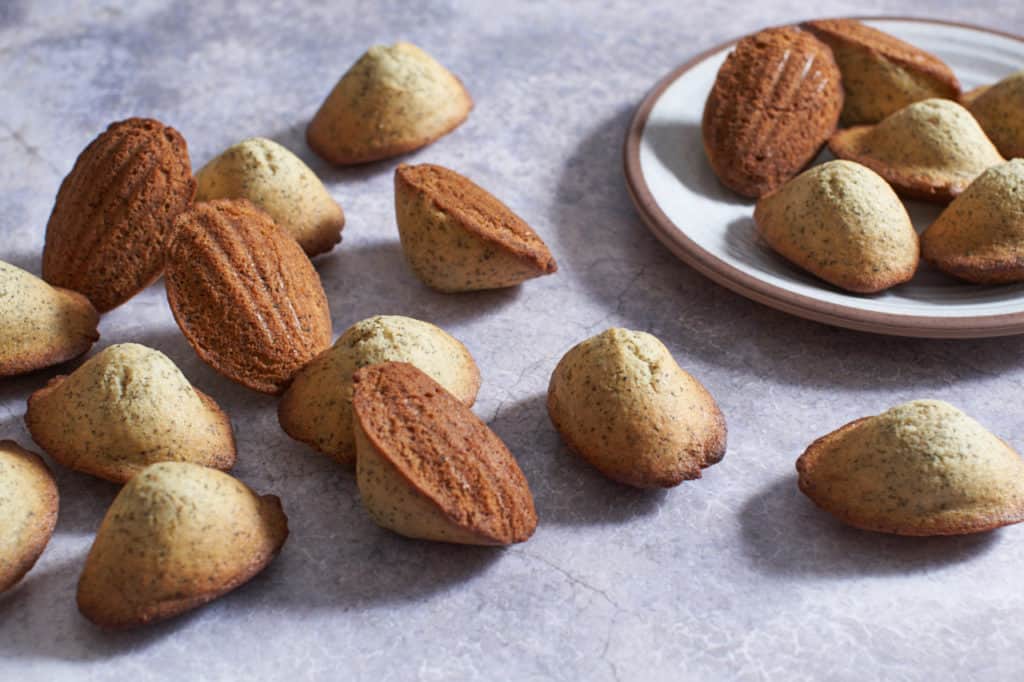
If you've always wanted to learn how to make French madeleines but were afraid to try, this is the recipe for you! These fragrant Earl Grey Madeleines are easy to make, you just need to remember a few tips!
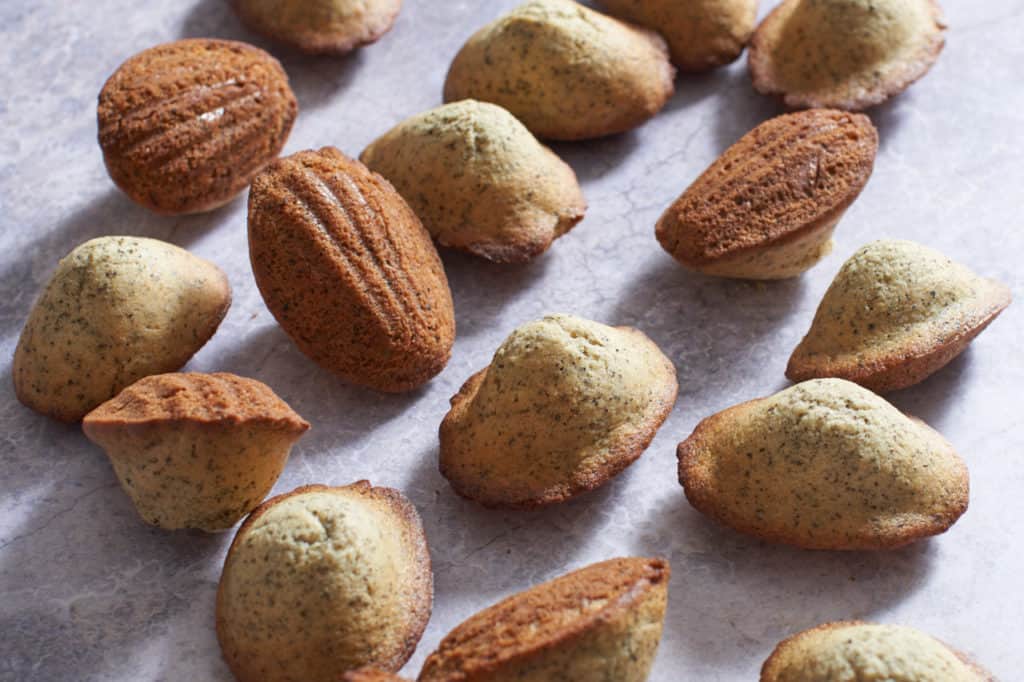
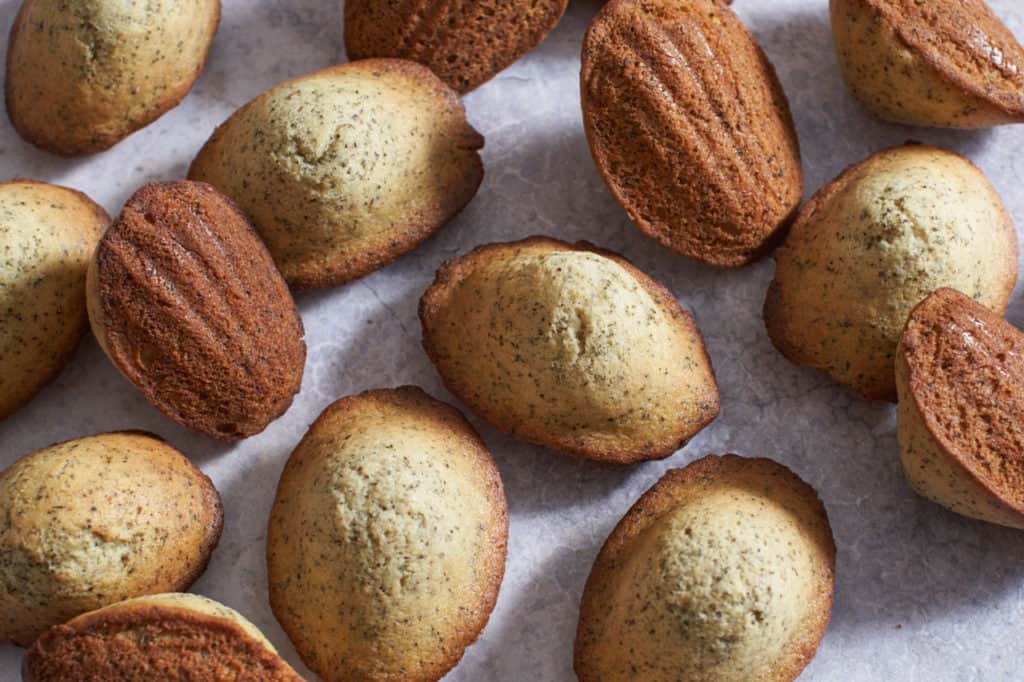
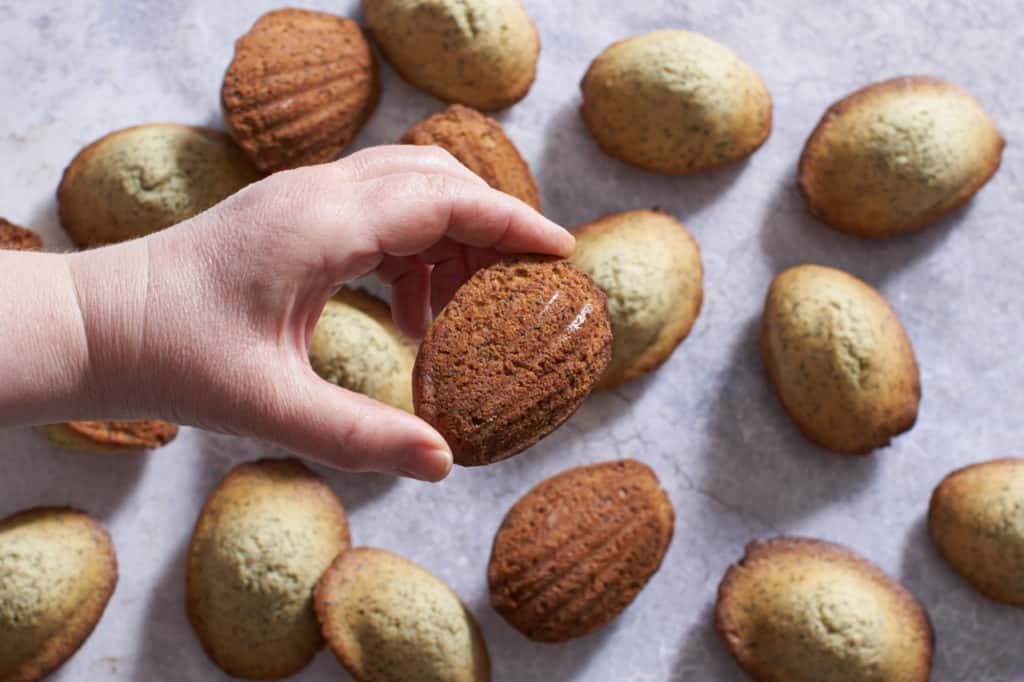
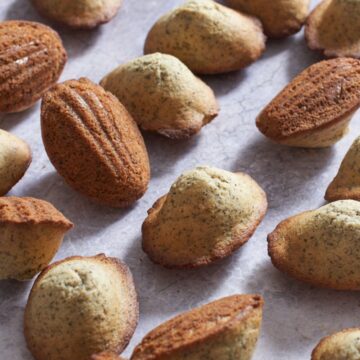
Oh, that sweet little French treat we call Madeleines. They are so cute with their little shell shape. Crispy on one side, and pillowy on the other. Perfect alongside a cup of tea.
So why not put the tea in them to begin with? That's what's happening with this Earl Grey Madeleines recipe.
And let's ask the age-old question: Are French madeleines cookies or cakes? Well, I think they're both. A cookie-cake. Or a cakey cookie. Who cares? They're delicious. Just enjoy them and be done with it.
What makes them so special is the science of how they bake, and that cute bump.
If you love the texture of these madeleines, you'll love the crispy edges and soft centers of my pumpkin cookies, too!
Jump to:
Why do madeleines have a bump?
Because the batter is kept cold and goes right into a hot oven. The difference in temperature causes steam that forces the batter up, up, up. The longer you chill the batter, the more of a bump you'll get.
Sometimes they’re gonna be flatter around the edge with a bump in the middle and sometimes they will be all bump. Why? I don’t know. What matters is the bump. Lack of bump is bad. Lack of bump will make you sad.
(But seriously, if you don't want the bumps to be so high, chill the batter for less time, maybe a few hours instead of overnight.)
Ingredients you'll need
Earl Grey madeleine batter ingredients are pretty straightforward.
- Unsalted butter: Two sticks!! We're going to melt it! It makes up most of the liquid in the batter.
- Eggs
- Sugar
- Milk: Whole milk is best.
- Flour
- Earl Grey tea
- Baking powder and baking soda: We need both leaveners to get our madeleines to rise and have a bump!
- Salt

How to Make Earl Grey Madeleines
Adapted from Tasting Paris by Clotilde Dousoulier. These remind me of the delicious madeleines I had in Paris at Mesdemoiselles Madeleines on rue des Martyrs.
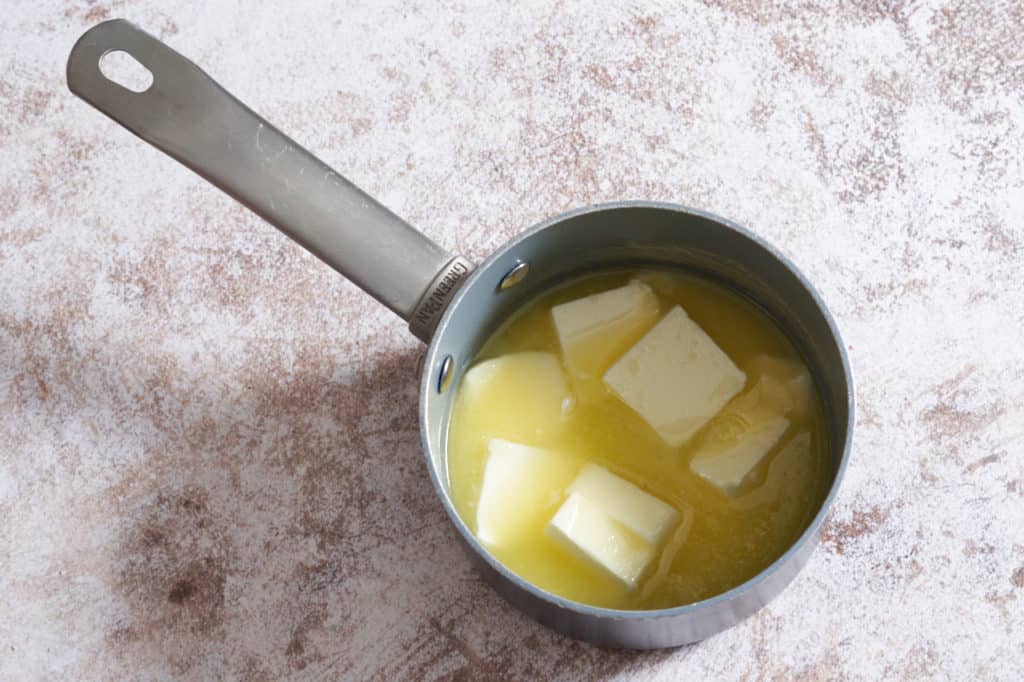
Step 1: Melt the butter and set aside
Before you start, remember: You must make the madeleine batter the day before. Melt all but 3 tablespoons of the butter in a small sauce pan and set aside to cool.
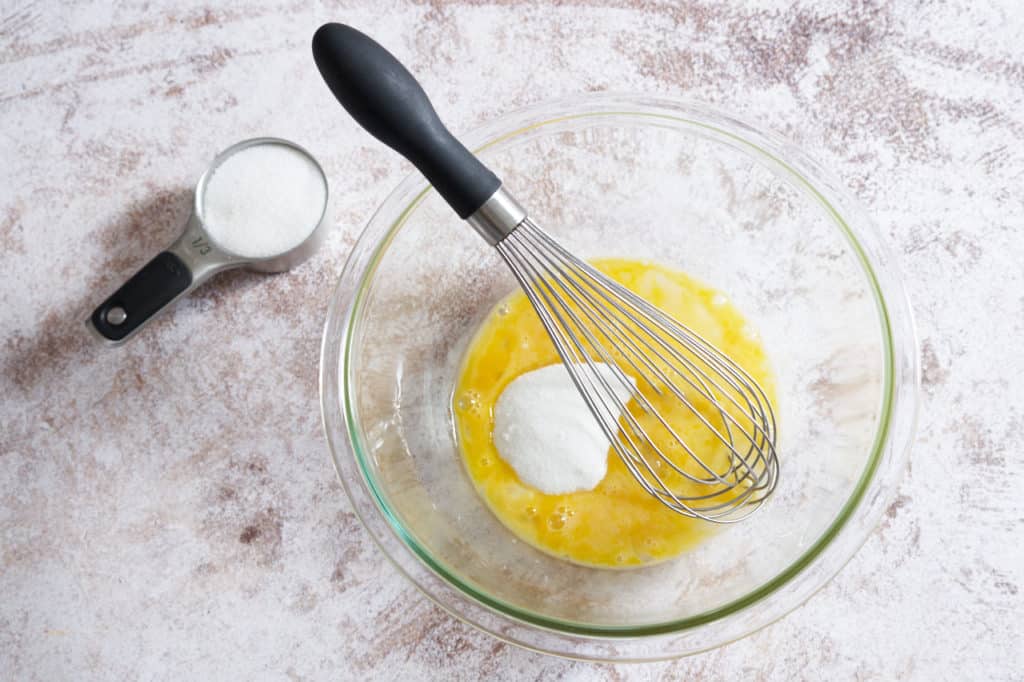
Step 2: Combine eggs, sugar and milk
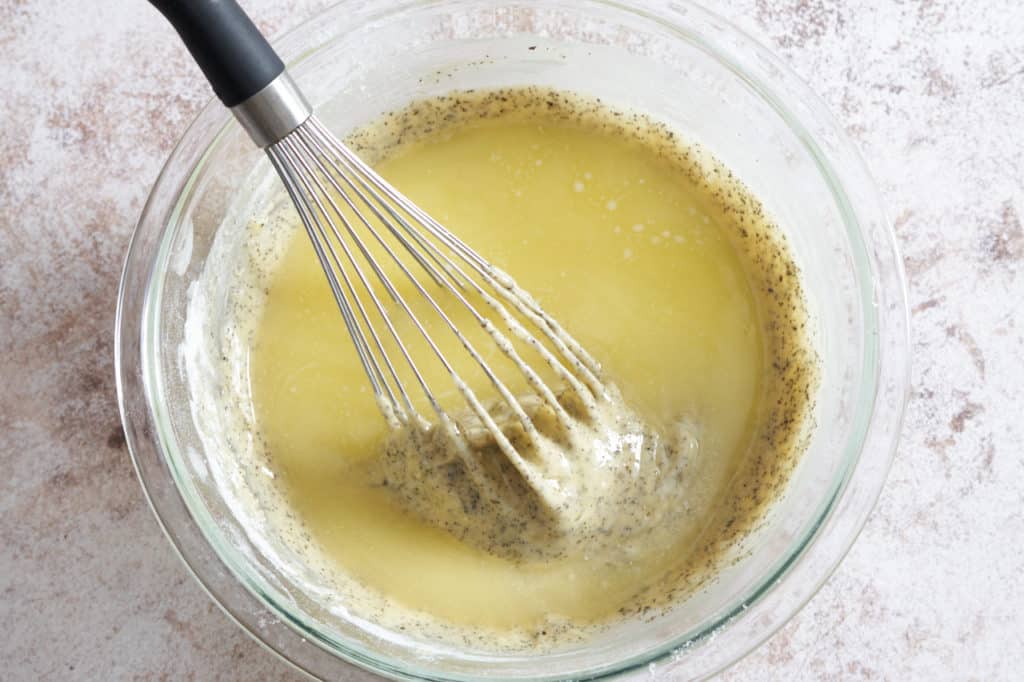
In a large mixing bowl, combine the eggs and sugar and use a whisk to beat them together for a minute or two until light and frothy.
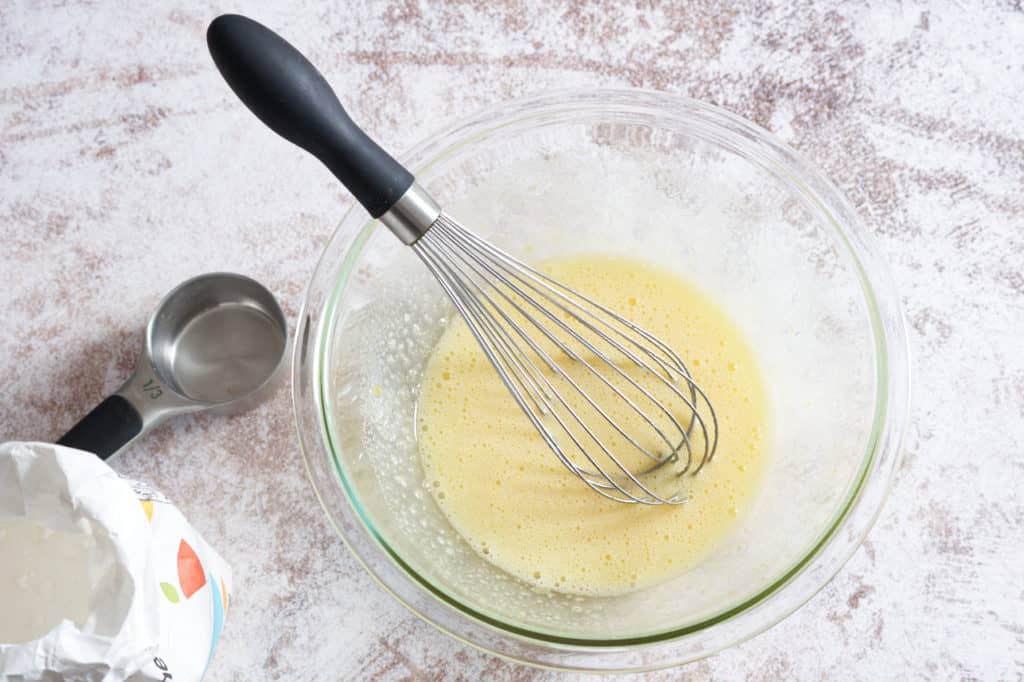
Then whisk in the milk.
Want to save this recipe?
You'll be added to my email list!
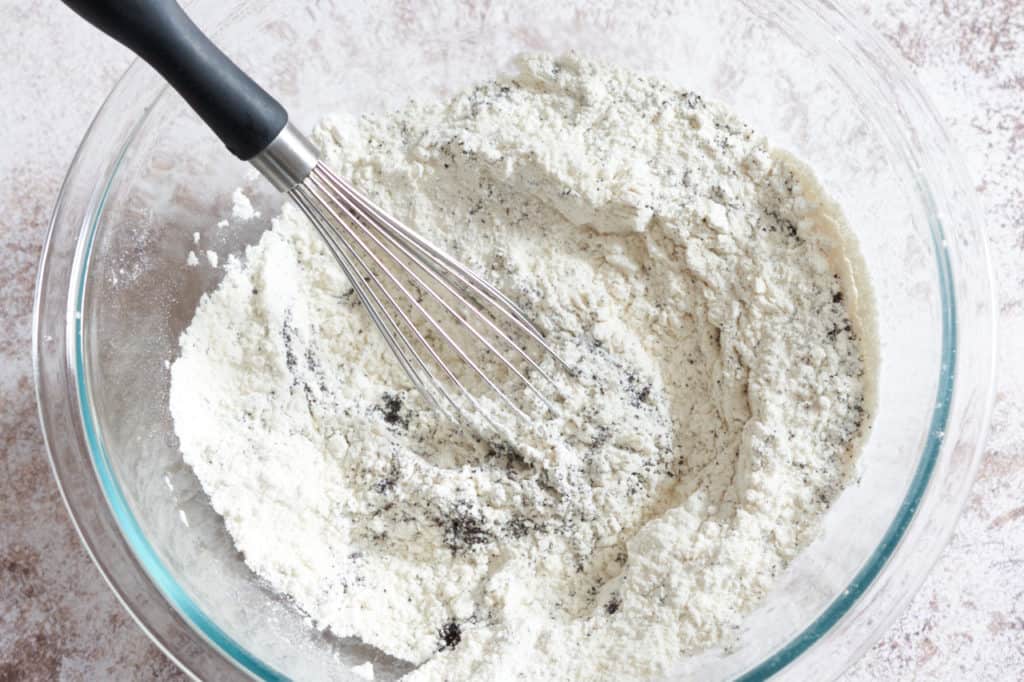
Step 3: Whisk together the dry ingredients
Sift the flour and add to another large bowl. Whisk in the remaining dry ingredients and stir to combine.
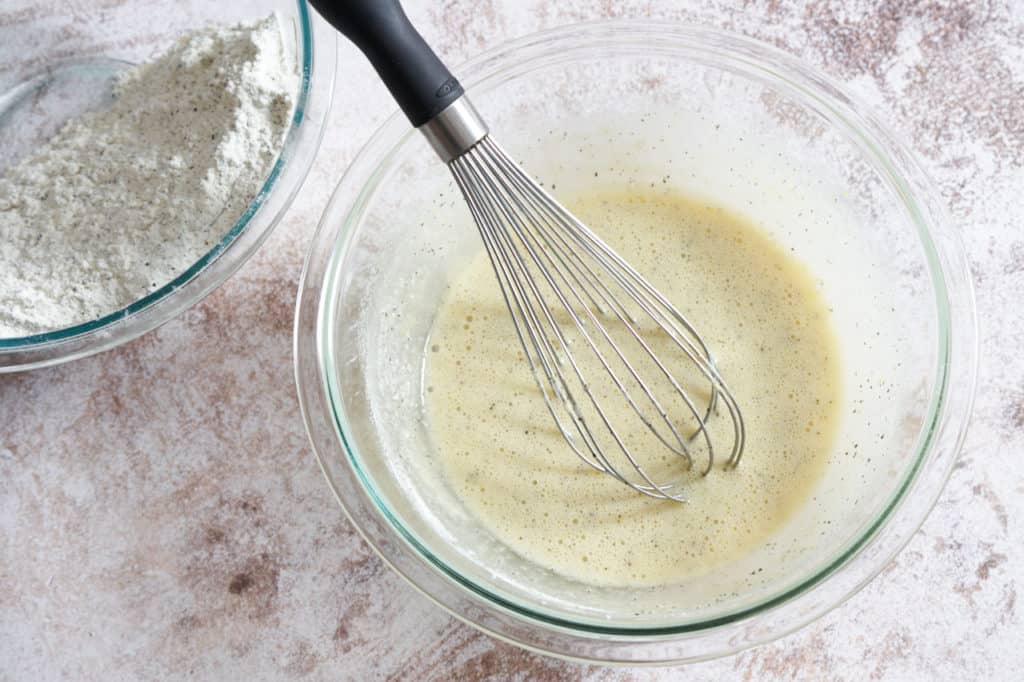
Add dry ingredients into the wet ingredients a little at a time and whisk together.
Step 4: Add in the butter, and whisk until you reach the ribbon stage
Then add the melted butter and whisk until it is fully incorporated and you have a smooth shiny batter.
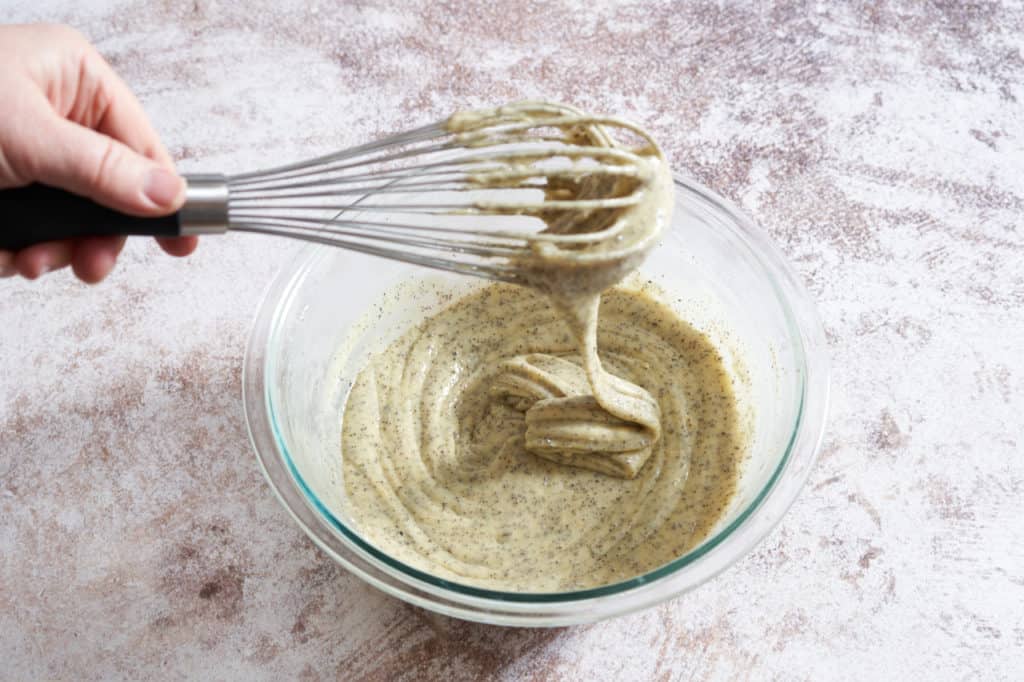
You'll know the batter is right when it falls from your whisk in wide, flat ribbons. Cover the batter tightly and refrigerate overnight or up to three days.

Step 5: Butter the madeleine pan
Preheat the oven to 425 degrees F. Melt the remaining 3 tablespoon butter and use a pastry brush to butter a non-stick madeleine pan.
Yes, you still have to butter it if it's non-stick. And I actually recommend that you butter it, wipe it out with a paper towel, and butter it again before you add the batter. This will kind of season it. Think cast iron pan.
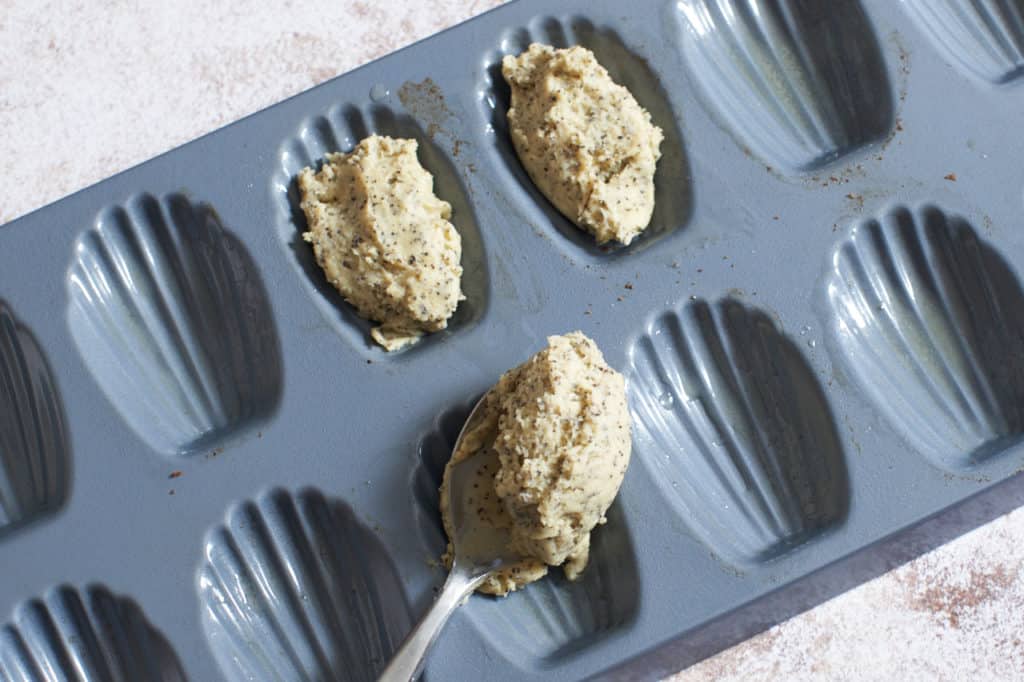
Step 6: Scoop batter into the pan and bake
Use a tablespoon to scoop the batter into each madeleine mold, filling about ¾ full. And I don't mean use a measuring spoon that's 1 tablespoon. I mean an actual tablespoon. The kind you find in your silverware drawer next to the forks.
You can spread the batter out a little with your fingers if need be, but don't mush it down. Remember the batter needs to stay cold so handle it as little as possible.
I tried using a cookie scoop, but you need something that comes closer to the shape of the mold to start with. The batter will spread a bit, but it will rise more than anything else. So let's start with something that gets us halfway there.
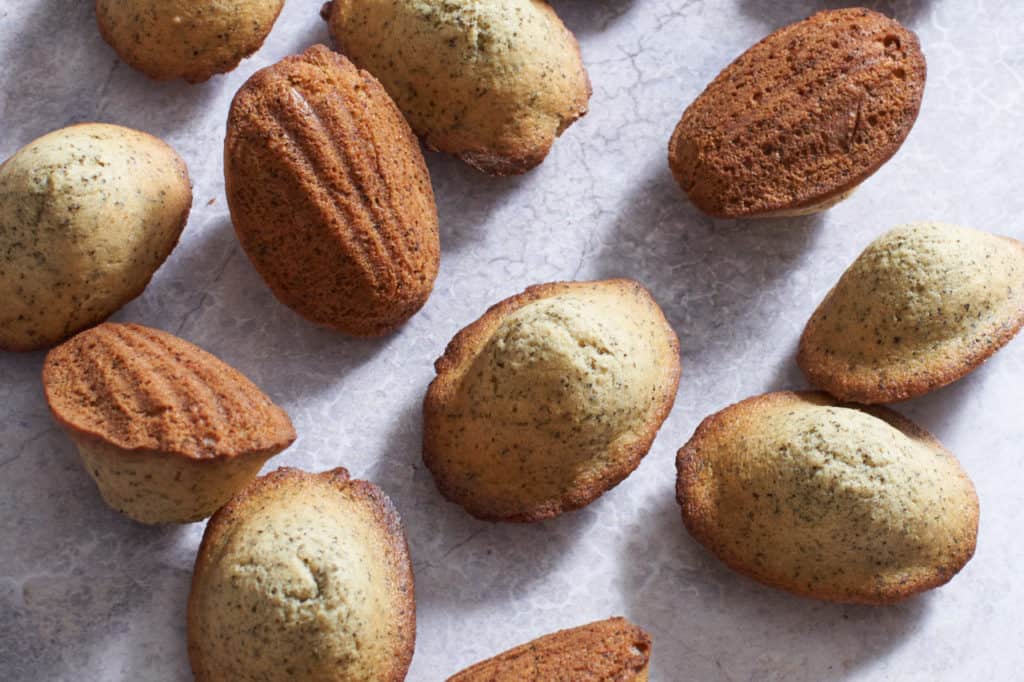
Place the pan in the center rack of the oven and bake for 10-13 minutes, until the madeleine has a nice bump and is golden brown around the edges. Put the remaining batter back in the refrigerator.
To get the madeleines out of the pan, grasp it with both hands and tilt so they are facing away from you while banging the bottom edge of the pan on the counter. It might take a couple of tries to get them all out. Place them on a rack to cool.
Allow the pan to come to (cool) room temperature before you bake the next batch. Which could be right away or could be tomorrow. Remember the batter lasts a few days.
Tips for making madeleines
- The batter must be cold! This is what gives them their signature bump
- Use a non-stick madeleine pan and you'll still need to coat it with butter before baking.
- Season the pan - coat the molds with melted butter, then wipe clean with a paper towel, and coat them again.
- Sift the flour for fluffy madeleines! (also the baking powder and baking soda to avoid lumps)
- Keep the batter in the fridge in between batches
- Do a test bake with 2-4 madeleines in the molds. This helps you make sure that the amount of batter in the mold and the amount of baking time is just right before baking a whole pan full.
- Allow the pan to come to a cool room temperature before baking the next batch. Like, don't let it cool next to the oven. Move it to the next room over away from the kitchen and wave it around if you have to. (I did.)
FAQ
Refrigerate madeleine batter overnight or for up to three days before baking.
French madeleines are best right after they come out of the oven. After a day, they lose that crispness on the shell side quickly and get a bit stale. However, you can keep them in an airtight container for a few days and dunk them into your tea–they'll still be quite tasty.
More French baking recipes
- Buckwheat Crepes are a classic French treat that can be made savory or sweet.
- Palmiers (Elephant Ears) are two-ingredient cookies that anyone can make.
- Try a custardy Cherry Clafoutis to make the most of the fleeting-est summer fruit season.
If you enjoy this recipe, please leave me a 5-star rating in the recipe card! It really helps others find my content and helps my business grow! Sign up for my newsletter for recipes delivered to your inbox and follow me on Instagram and Pinterest! Thank you!
Recipe
Earl Grey Madeleines
Want to save this recipe?
You'll be added to my email list!
Ingredients
- 16 tablespoon unsalted butter divided
- 3 large eggs
- ⅔ cup sugar
- ¼ cup milk
- 1 ½ cups flour sifted
- 2 tablespoon finely ground Earl Grey tea
- 1 ½ teaspoon baking powder
- ½ teaspoon baking soda
- ¼ teaspoon salt
Instructions
- Make the batter the night before or up to three days ahead.
- Melt 13 tablespoon of the butter in a small sauce pan and set aside to cool.
- In a large mixing bowl, combine the eggs and sugar and use a whisk to beat them together for a minute or two until light and frothy. Then whisk in the milk.
- Sift the flour, baking powder, and baking soda into another large bowl. Whisk in the tea and salt and stir to combine.
- Add dry ingredients into the wet ingredients a little at a time and whisk together gently.
- Then add the melted butter and whisk until it is fully incorporated and you have a smooth shiny batter. You'll know the batter is right when it falls from your whisk in wide, flat ribbons. Cover the batter tightly and refrigerate overnight or up to three days.
- Preheat the oven to 425 degrees F. Melt the remaining 3 tablespoon butter and use a pastry brush to butter a non-stick madeleine pan.
- Use a tablespoon to scoop the batter into each madeleine mold, filling about ¾ full. And I don't mean use a measuring spoon that equals 1 tablespoon. I mean an actual tablespoon. The kind you find in your silverware drawer next to the forks. You can spread the batter out a little with your fingers if need be, but don't mush it down. Remember the batter needs to stay cold so handle it as little as possible.
- Place the pan in the center rack of the oven and bake for 10-13 minutes, until the madeleine has a nice bump and is golden brown around the edges. Put the remaining batter back in the refrigerator.
- To get the madeleines out of the pan, grasp it with both hands and tilt so they are facing away from you while banging the bottom edge of the pan on the counter and they will pop out. It might take a couple of tries to get them all. Place them on a rack to cool.
- Allow the pan to come to room temperature before you fill it up with batter again. Which could be right away or could be tomorrow. Remember the batter lasts a few days.
Notes
- The batter must be cold! This is what helps to give them their signature bump
- Use a non-stick madeleine pan and you'll still need to coat it with butter before baking.
- Season the pan - coat the molds with melted butter, then wipe clean with a paper towel, and coat them again.
- Sift the flour for fluffy madeleines! (also the baking powder and baking soda to avoid lumps)
- Keep the batter in the fridge in between batches
- Do a test bake with 2-4 madeleines in the molds. This helps you make sure that the amount of batter and the amount of baking time is just right before baking a whole pan full.
- Allow the pan to come to a cool room temperature before baking the next batch. Like, don't let it cool next to the oven. Move it to the next room over away from the kitchen and wave it around if you have to. (I did.)
- It seems like the tea makes these look a little darker than they really are on the bottom. I tested with and without the tea, the ones with tea looked darker, but didn't actually taste like they were baked too long.

Sophie
Loved these earl grey madeleines! I used this recipe for my very first attempt & they turned out amazing
Debra
Hi Sophie!
I'm so glad this recipe helped you succeed in making madeleines for the first time! That really warms my heart.
Thanks for reading and trying my recipes,
Debra